Nobody wants to cook their famous chili in a skuzzy pot, but it happens. The daily use of our coveted cookware causes food deposits to build up, and it seems no amount of scrubbing will release the gunk. Friends have told me they can’t handle it, their pots never come clean, and everything sticks. Well, I can help you fix that.
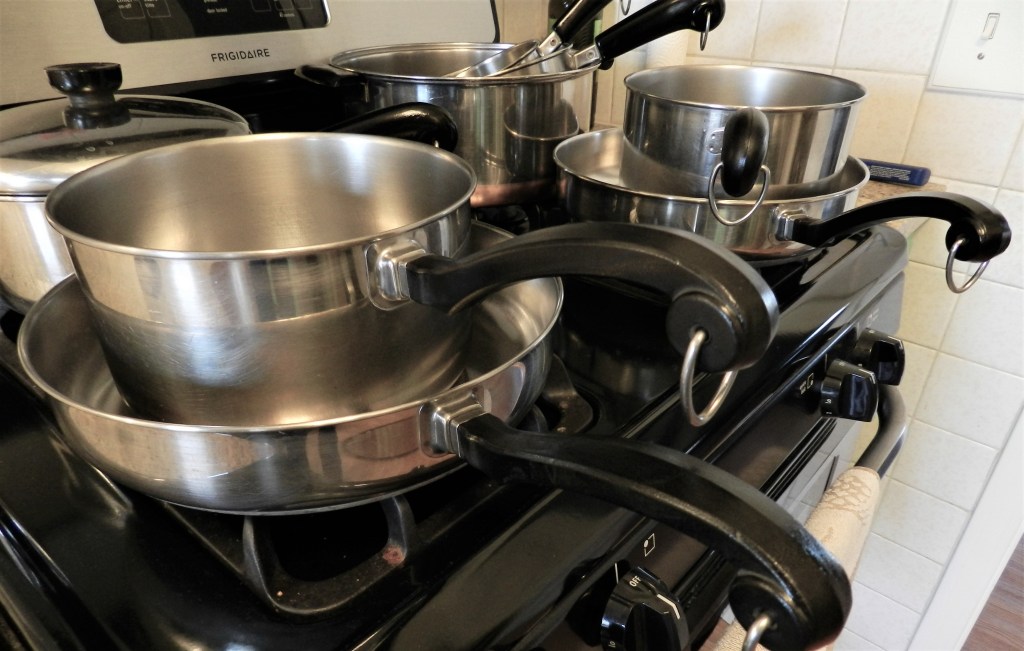
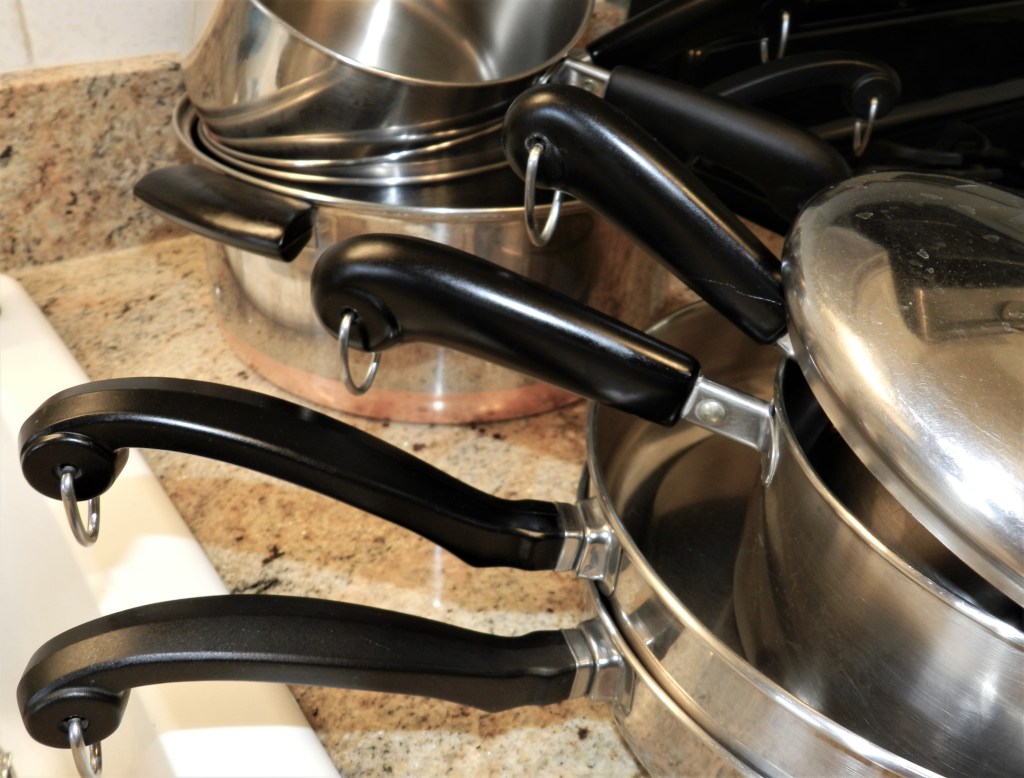
I don’t own any ceramic, granite, enameled, or any kind of nonstick pans; just plain stainless steel. Most of my collection is vintage Revere Ware and Farberware, because it will last the rest of my life if properly cared for. I’ll never need to buy another pot again, but I’m sure I’ll find more at a resale shop or yard sale that just must come home with me.
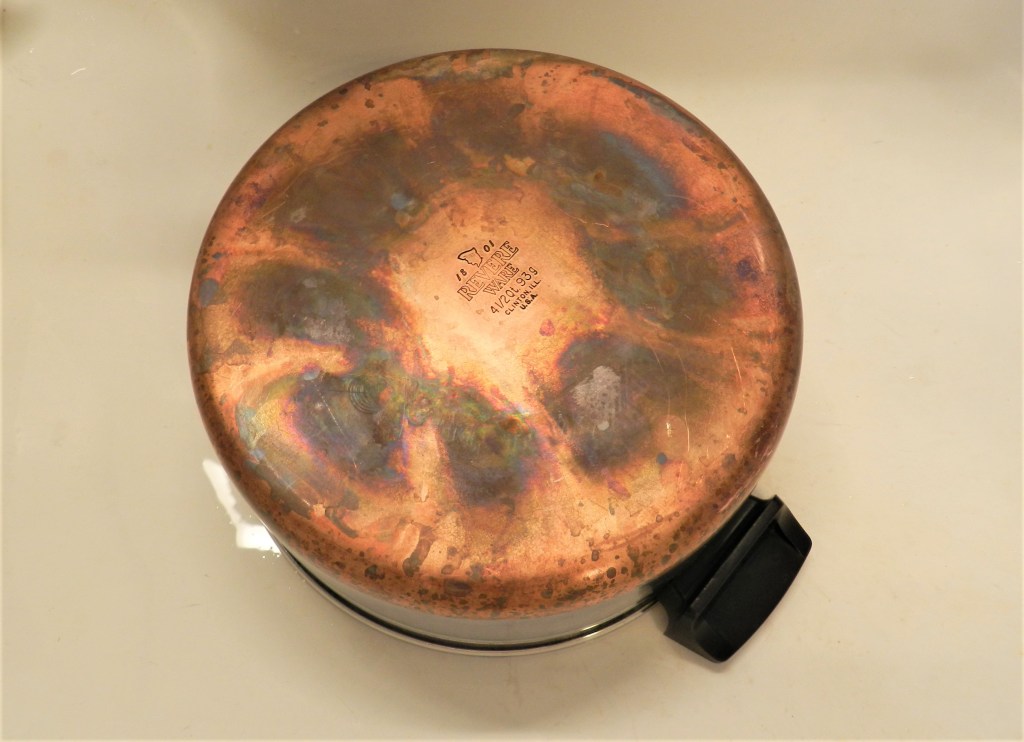
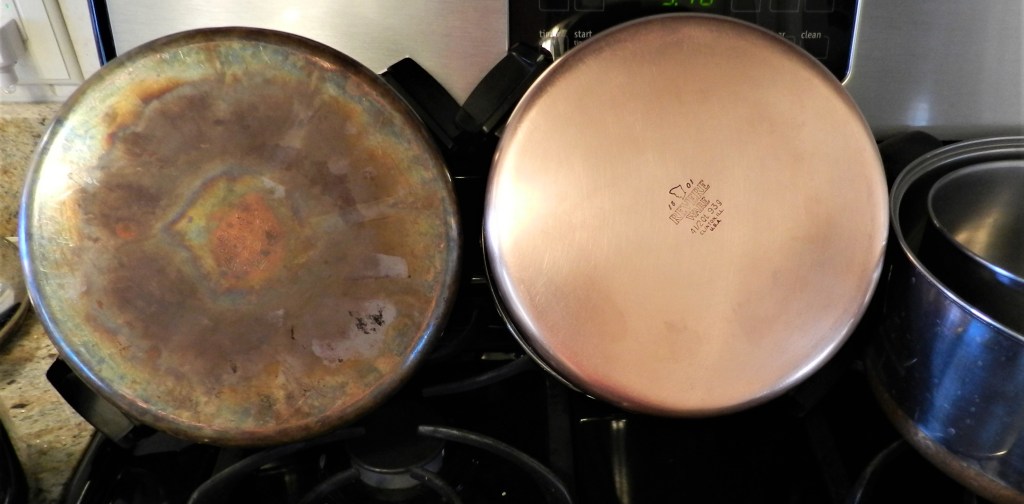
So let’s get on with it. Cleaning your cookware shouldn’t be a chore. I’ve discovered a few tricks over the years to help this job go more smoothly. If your pots are vintage and have black handles like the ones I’ve shown, they are hand wash only. I can’t stress that enough. Your dishwasher destroys those delicate handles over time; causing them to crack, flake, dry out, and just look dead and grey. Some of my second-hand pans didn’t look very nice at first. If yours look like this don’t worry, I’ll show you how to fix that too (within reason of course).
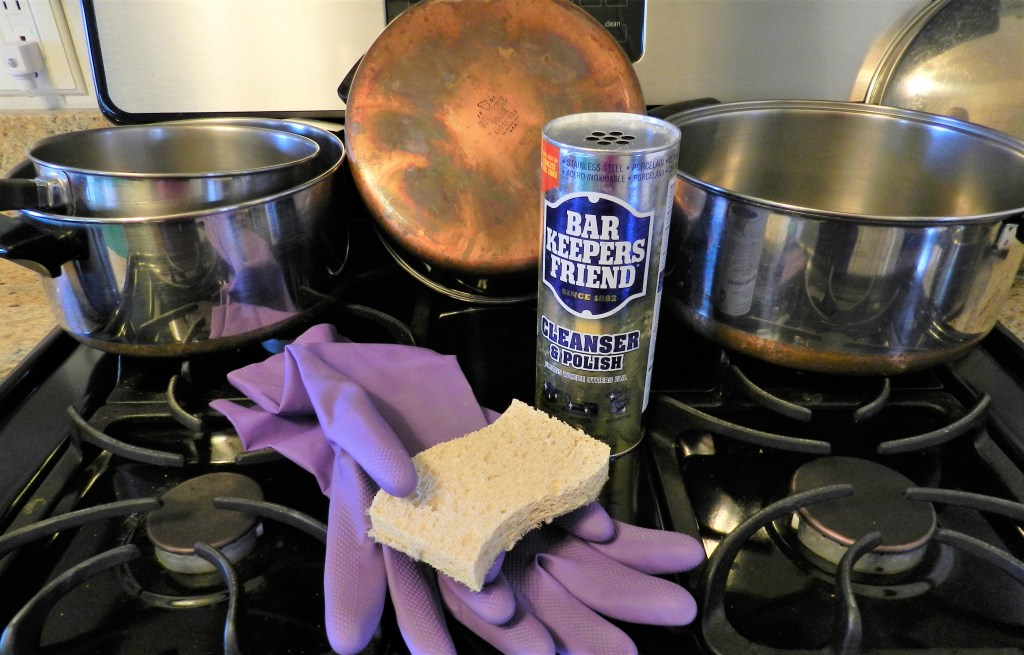
What you’ll need:
- rubber kitchen gloves
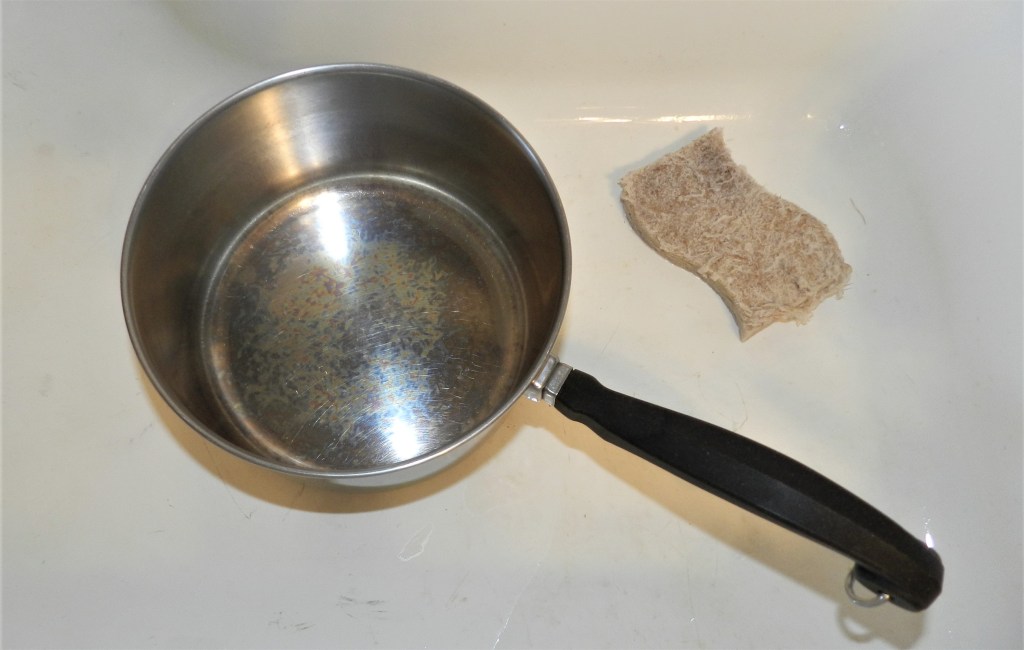
- a sponge with at least one non-abrasive side (my favorite is Scotch-Brite Greener Clean)
- a can of Bar Keeper’s Friend (can be found at grocery and hardware stores)
- your favorite pots and pans
- a clear space in your sink
- a clean, dry dish towel
- jar of petroleum jelly
- a couple paper towels or napkins
The reason I like Bar Keeper’s Friend so much is because it works. It’s a very fine abrasive (like toothpaste on your chompers) and it won’t damage your cookware. It’s available in powdered or liquid form, but for this particular application I’ve gotten better results with the powder. I’ve used it for years and I make zero money for saying so. Gloves are recommended on the can so go ahead and grab a pair. First I get the pot wet, sprinkle a little cleanser on it, then sponge in a gentle circular motion. Believe it or not, this stuff works much better with a soft sponge, instead of an abrasive one to begin with. When you’ve done all you can with the soft side, the rough side will take out those last little dark spots.
Please refrain from using any sponge made specifically for scrubbing on your cookware, such as green pads or metallic sponges. These products could potentially cause microscopic abrasions, leading to more build-up, necessitating more frequent cleanings!
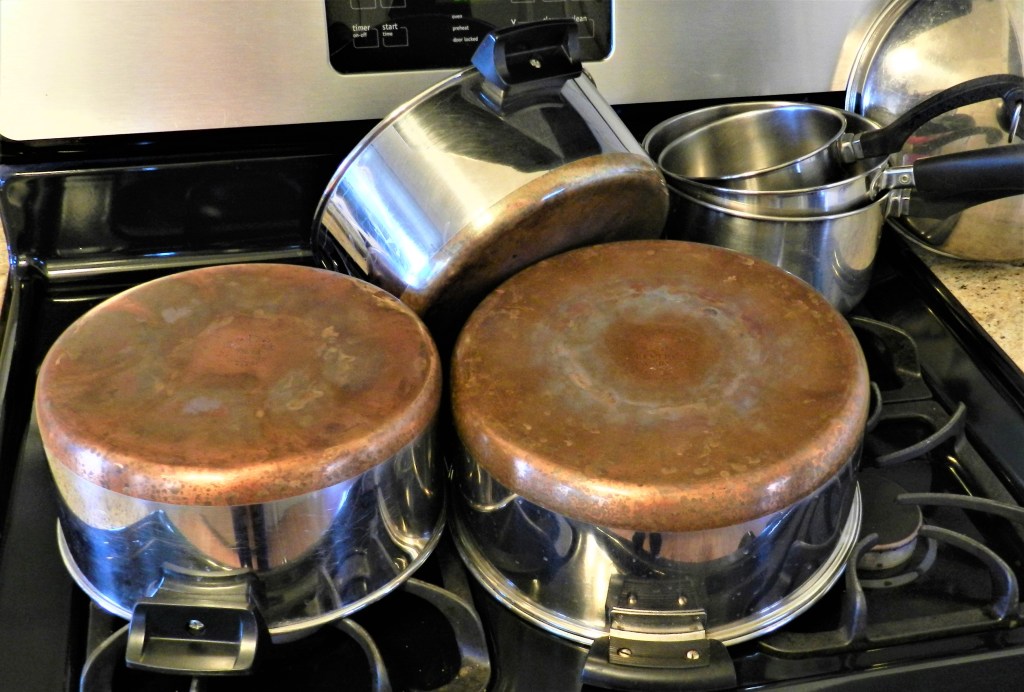

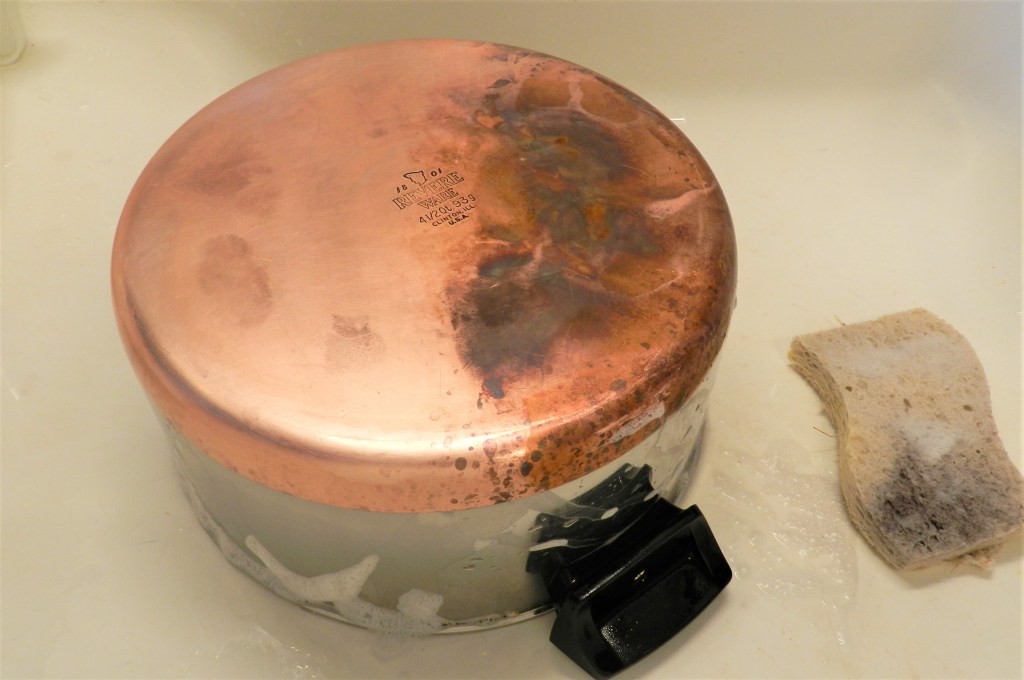
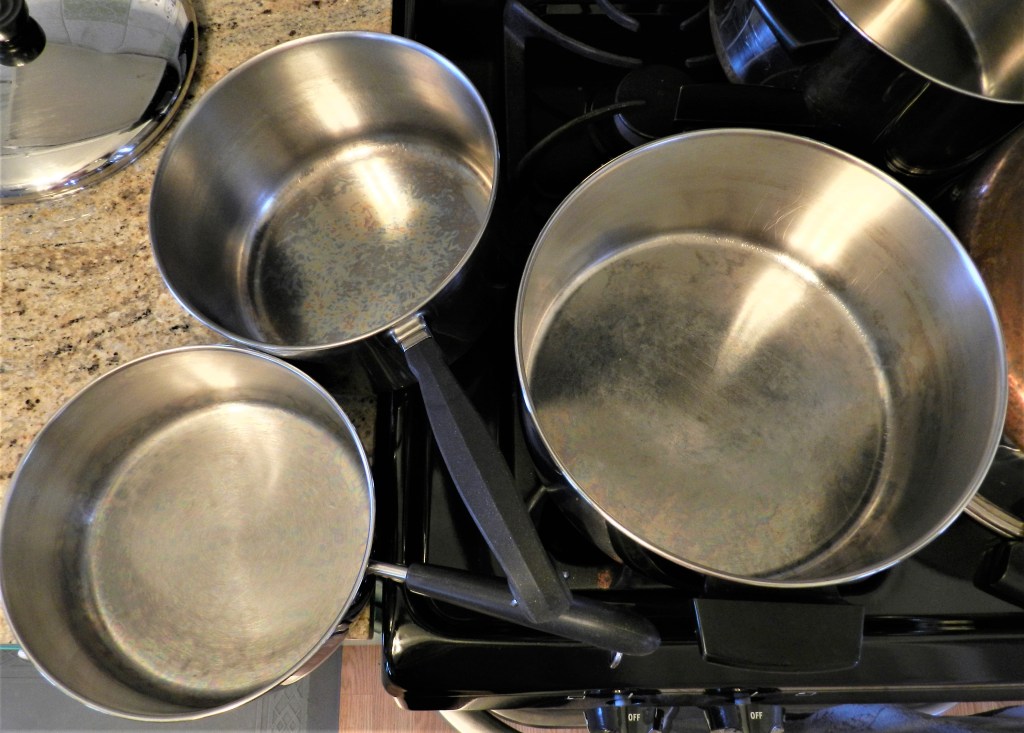
You can follow the same procedure for the inside of the cookware too, it’s perfectly safe. When you’re done cleansing wash the pot or pan with dish soap. You can use the abrasive side just as you normally would (or wouldn’t), it’s just a matter of preference. Be sure the Bar Keeper’s cleanser is completely washed off.
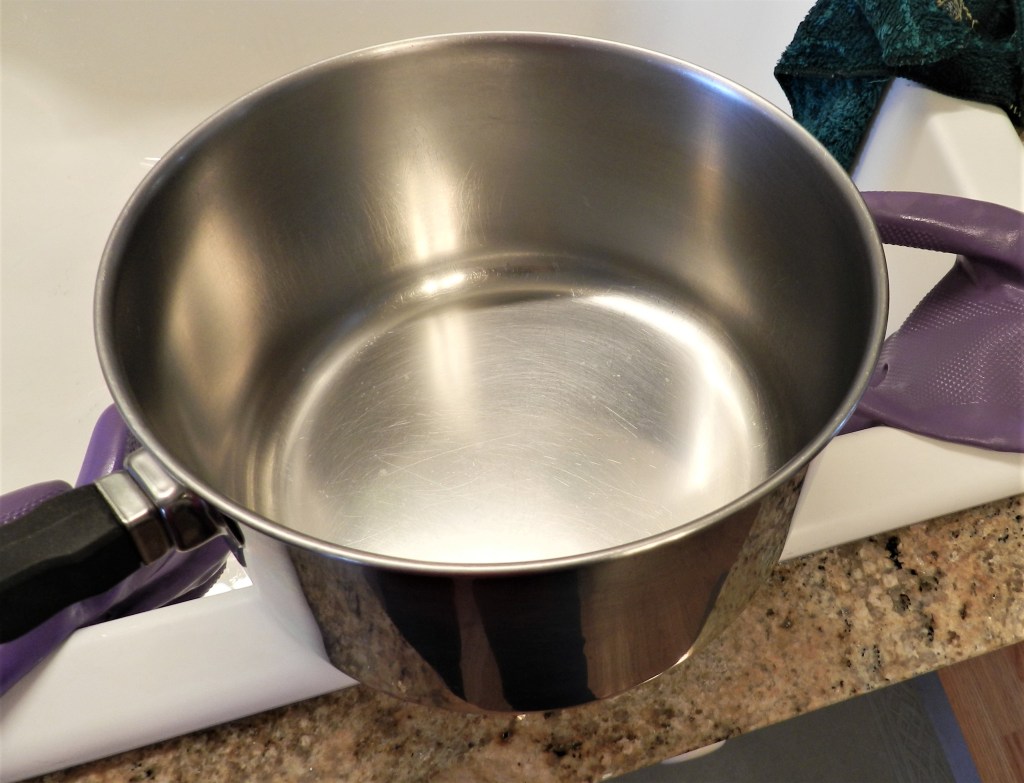
I always quickly towel dry the copper bottom pots before water spots can appear. I like to do this with the others as well, because I have hard water. Now that your cookware is clean and dry, let’s address those handles. All you need now is a jar of petroleum jelly, or Vaseline. I just use my hands for this part, and get a pea-sized bit of jelly on my fingers. Then I smear it all over the handles.
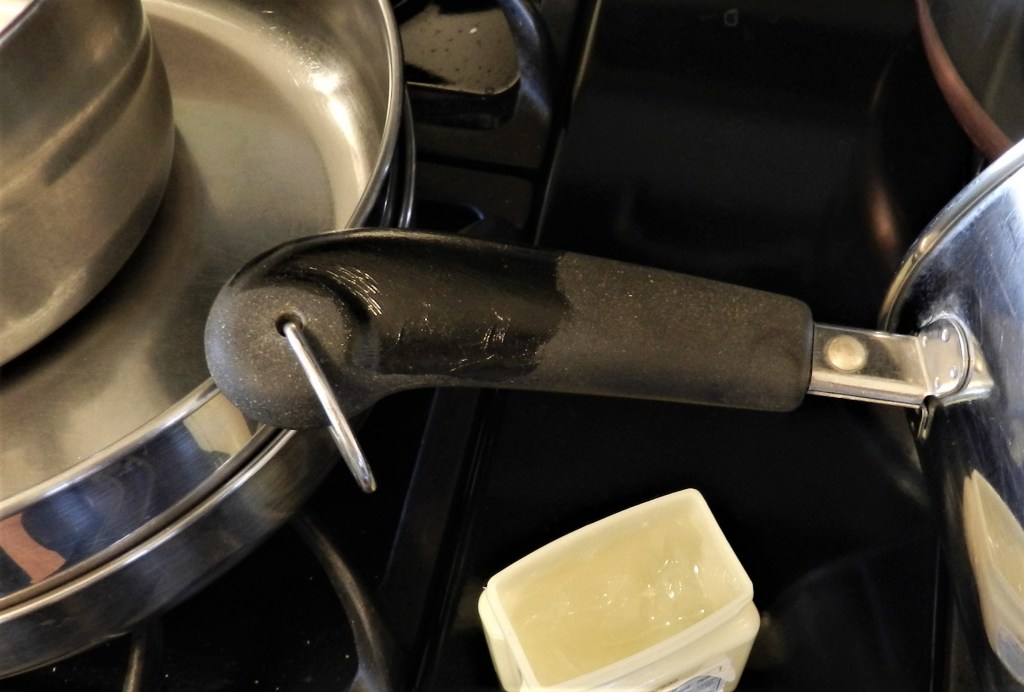
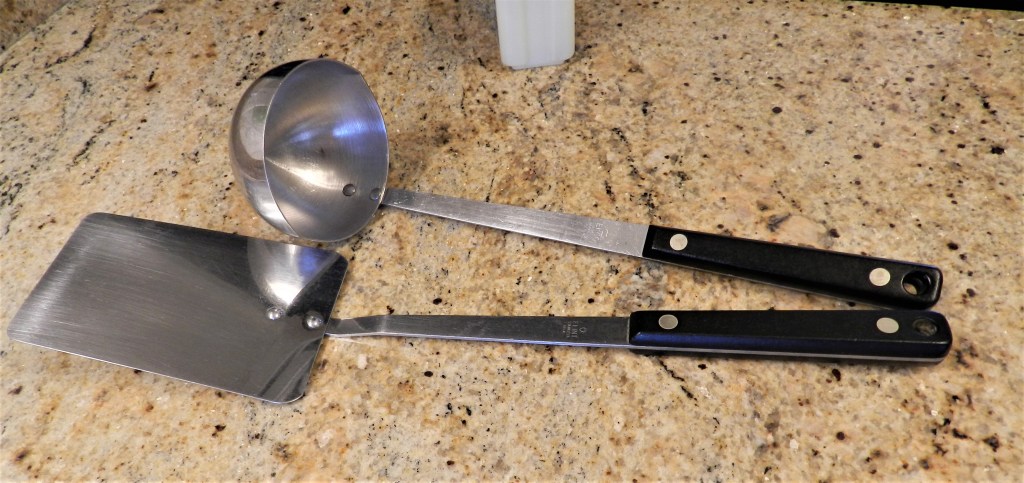
Let it soak in for about three to five minutes, then wipe off the excess with a paper towel. It’s ok if the handles feel a little bit slimy. The jelly will continue to soak in, and those handles will feel dry within a few hours. If you have any utensils with black or brown (or any other color) handles held together with pins, you can use petroleum jelly on them too! To keep all my handles looking nice, I do this routine two or three times a year. The pan I use every day needs it a little more often.
Now that your cookware is clean, my goodness let’s use it! Stainless cookware performs much better with a little preparation. It’s not quite like seasoning a cast iron skillet, but it kind of is, just faster.
You can use any oil you’d like, but I prefer Avocado oil. I pour in about a tablespoon for my ten inch skillet, then let it warm for a few minutes over medium heat.
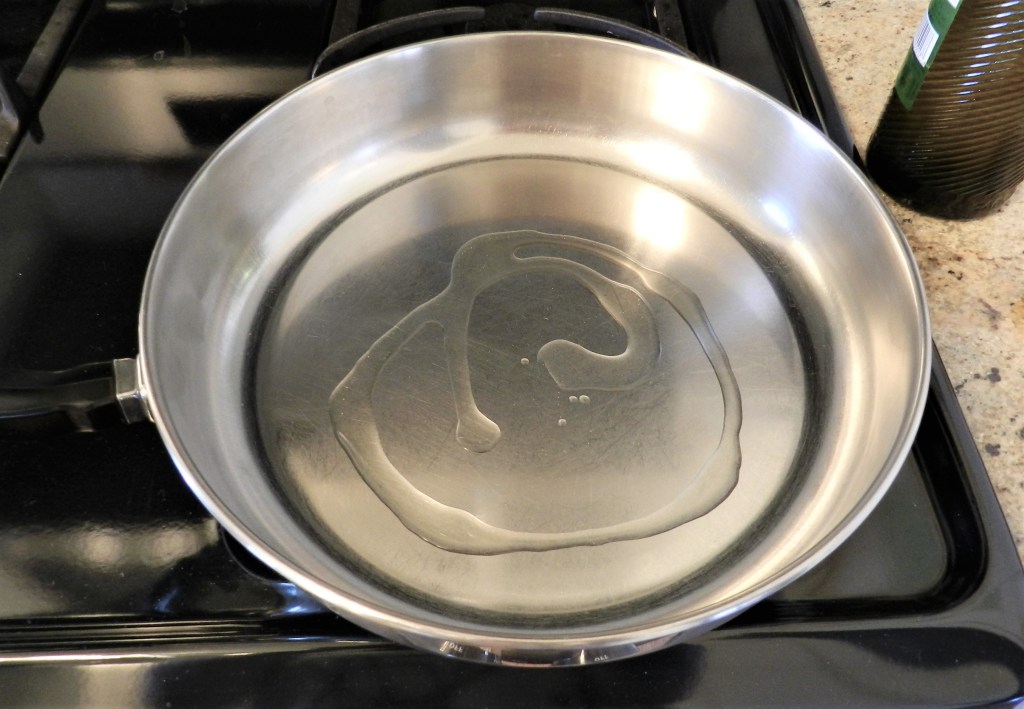
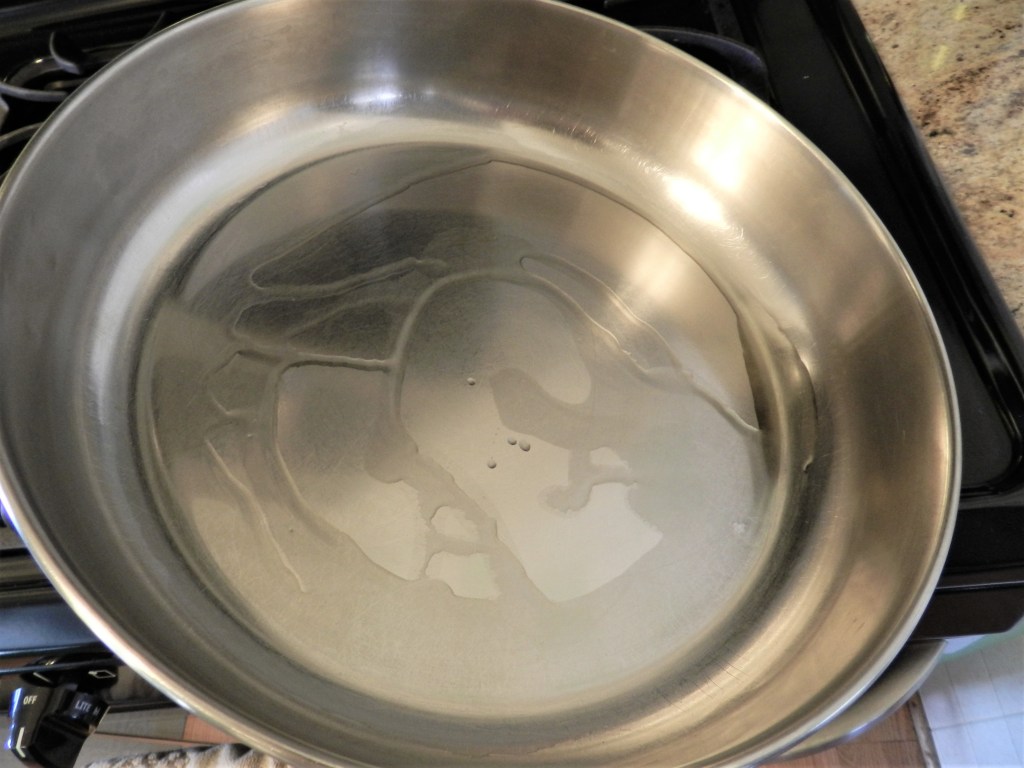
When it’s warm enough the oil will flow like water. Turn off the burner. Tip the skillet or spread your oil with a spatula, whatever it takes until you coat the entire bottom; then set it on a cool grate. Once the pan cools for about ten minutes put the lid on, and now it’s ready for your next meal!
Tips For Cooking With Stainless
To some people “oil” is a bad word. When you’re cooking with a stainless pan it’s a necessity (pots full of liquid are fine without using oil). There are several healthy oils you can use, and I’ve tried most of them. I stuck with Avocado because it’s agreeable to my digestive system. There’s honestly no other reason I’ve decided to stick with it over another, so do what works (and is available) for you.
The amount of oil you’ll need is kind of trial and error, but I like to start with at least a teaspoon for a couple fried eggs. I’ll put two tablespoons or more for a whole panful of stir fry.
Don’t let your pan get too hot. Food will stick like glue if we crank up the temperature, so I like to stay about halfway on the burner’s dial on my gas range. A good rule: if your pan is starting to smoke it’s too hot, I’ve done it myself. Remove it from the heat and let it cool. If you find you’ve underestimated either of these and now your food is stuck, you can add a little water and like magic, your food will be free! Please don’t add water if your pan is smoking! Let it cool first.
With proper care and simple maintenance, your vintage pots and pans can be the stars of your kitchen; keep them shining!
Happy cooking.
